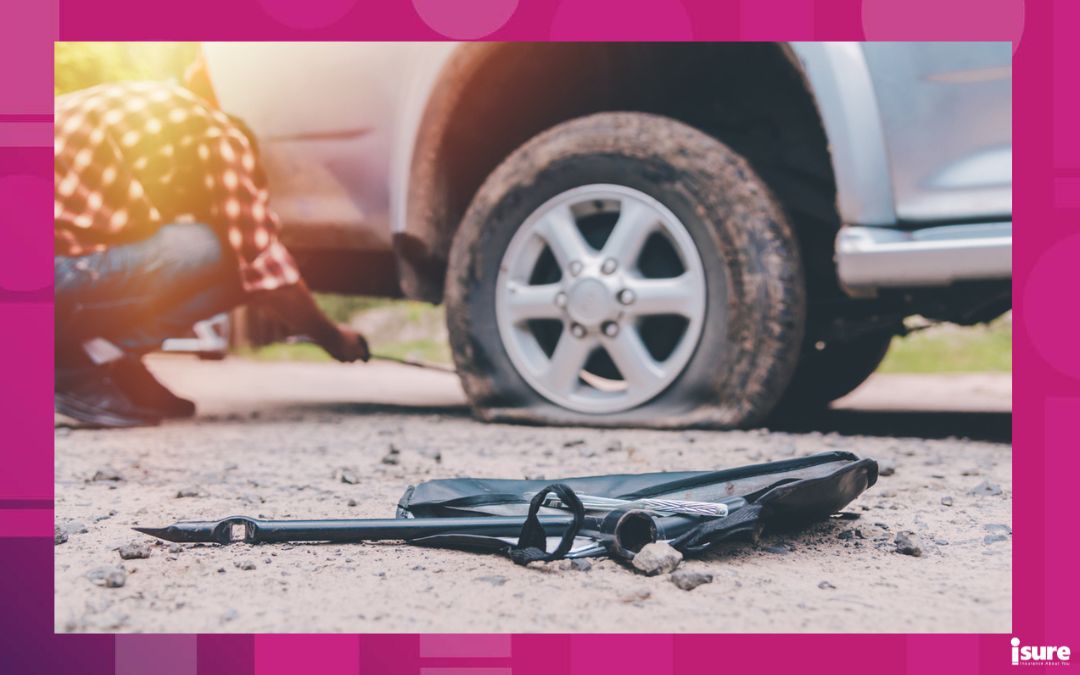
One of the most essential things a driver needs to know is how to change a flat tire. Whether you are commuting to work, running errands, or on a road trip, a flat tire can happen unexpectedly and at any time. While changing a tire may seem daunting, the process is actually relatively straightforward. With the right tools, knowledge, and preparation, changing a tire can be a relatively smooth process. Here is a step-by-step guide for safely and confidently changing a flat tire.
When faced with a flat tire, the most important thing to do is to remain calm and avoid sudden braking. Instead, gently ease off the gas and keep a firm grip on the steering wheel to maintain control of the vehicle. Then, you can steer slowly and smoothly to a safe place where you can pull over.
Flat Tire Prep: What You’ll Need to Have on Hand
- Car jack
- Spare tire (make sure it is inflated)
- Lug wrench (and wheel-lock, if applicable)
- Wheel chocks/heavy objects (to prevent wheels rolling)
- Vehicle’s owner’s manual
- Gloves
- Flashlight
- Reflective vest/triangles (if changing a tire roadside)
Note: Not all vehicles carry a spare tire; instead, some use what are called “run-flat” tires. These can only drive for very short distances before losing all the air. Please refer to your vehicle’s owner’s manual for more information about your vehicle.
Please read our blog to learn more about the most common causes of flat tires and how to prevent them!
Step 1: Find a Safe Location
To start, turn your hazard lights on to alert other drivers on the road. If you have to park on a slope, try to find the flattest spot possible, and avoid parking on soft ground to prevent the jack from sinking. A good place to park your car is on the shoulder of the road, or, if possible, in a nearby parking lot.
Step 2: Secure Your Vehicle
Next, engage the parking brake and place wheel chocks or heavy rocks behind and in front of the tire opposite the flat. Using the wheel chocks will help to prevent the car from rolling when being lifted.
Step 3: Get Your Tools Together
Now is the time to get all your tools together for changing a flat tire. You can get your jack, lug wrench, and spare tire from their storage area in your car. This storage area is often located beneath the trunk floor or in a separate rear compartment. Plus, before getting ready, ensure your spare is in good shape and properly inflated.
Step 4: Loosen the Lug Nuts
Before lifting the car, loosen the lug nuts slightly. You can do this by placing the wrench on a nut and turning it counterclockwise about half a turn. However, it may take some effort, so use your foot/body weight if needed. Remember, do not remove them completely yet. Loosen them slightly so they will be easier to remove later.
Step 5: Position and Raise the Jack
Next, refer to the owner’s manual to find the designated jacking point on your vehicle, near the flat tire. Next, place the jack securely under this point and ensure it is firmly on the ground. Slowly raise the car under the flat tire about 2-3 inches off the ground. Also, remember to never crawl under the vehicle while the jack is supporting it.
Step 6: Remove the Flat Tire
Now that the car is lifted, finish removing the loosened lug nuts. Please keep them in a safe place so they do not roll away. Carefully pull the flat tire straight towards you until it’s free of the wheel bolts. After it is safely removed, set it flat on the ground.
Step 7: Mount the Spare Tire
The next step in changing a flat tire is mounting the spare tire. Align the holes in the spare tire with the wheel bolts, then push the tire onto the hub. Then begin hand-tightening the lug nuts as much as possible. Doing it by hand helps to ensure that the tire is centered and seated adequately before being secured.
Step 8: Partially Lower Your Vehicle
Now that the spare tire is mounted, slowly lower the car until the spare tire is barely touching the ground. Ensure that when it is lifted, there is just enough room to keep the tire from spinning, but not enough to support its entire weight. Then, tighten the lug nuts diagonally across from each other, rather than in a circle. Choosing to pull them in a star-like pattern helps to ensure that the pressure is evenly distributed and the tire is aligned correctly.
Step 9: Lower and Secure the Tire
Once the lug nuts feel secure, lower the vehicle back to the ground completely and remove the car jack. To ensure everything is set, give each lug another tightening, following the same diagonal, star-like pattern as before. Additionally, if you have a torque wrench, take the time to tighten each nut to the manufacturer’s recommended torque. You can find this information in the owner’s manual.
Step 10: Put All Tools Away
Now that the spare tire has been properly installed, put it away, along with the tools used, in your trunk. While doing so, it is vital to ensure that nothing is left on the roadside, as it poses a safety hazard to other drivers. Moreover, check that your spare tire is securely fastened before driving away.
Step 11: Check Tire Pressure
Before you hit the road again, please check the air pressure in the spare tire, if possible. However, if it is a temporary “donut” tire, it is smaller and designed for short-term use. Only use this spare for short distances and no faster than 70km/h (45mph). If you are fitted with a “donut” tire, make your way to a tire shop ASAP to repair or replace your flat tire.
If you experience a tire blowout, don’t panic! Read our blog to prepare ahead of time in case this happens to you on the road.
Step 12: If All Else Fails, Contact Roadside Assistance
If you have roadside assistance, call them or your insurance provider for help. If not, you can contact a tow truck or a nearby repair service. While waiting, stay inside your vehicle with the doors locked if it’s safe to do so, especially if you’re on a busy or unfamiliar road. Avoid trying to drive on a flat tire, as it can damage your wheel and exacerbate the situation.
Flat Tire Prevention Tips
What Causes a Flat Tire?
There are many instances that can lead to a vehicle getting a flat tire. The most obvious and common reason is you have run over a sharp object on the road, or were subject to poor road conditions. Another reason that is often overlooked is by getting a flat through issues of wear and tear. So, one of the best proactive tips is to inspect and rotate your tires regularly. Additionally, a tire may go flat from a valve system leak. Therefore, it is crucial that you always check your tire pressure.
How Long Can You Drive on a Flat Tire?
Overall, you should never drive on a flat tire for more than absolutely necessary. If you drive on a flat for more than a short distance, you run the risk of causing permanent damage the tread, the rim, or even the tire itself. Therefore, as soon as you notice your tire has gone flat, you should gently take your foot off the gas, and keep a strong hold on the wheel to maintain control of the vehicle.
How Long Can You Drive on a Spare Tire?
A standard spare tire has a relatively short tread life. Overall, a compact spare tire is meant to get you from the place where it is installed, to the nearest shop to get a replacement tire. Spare tires can drive for up to 80km at lower speeds, and should only be driven on for a day or two. However, you should always go into a shop to get a proper replacement tire as soon as possible.
With proper preparation and knowledge, changing a tire can be a quick and easy process. By following these steps, you will be confident for the next time an unexpected roadside issue arises. Now you know how to change a a flat tire in a pinch! If you have any questions about your vehicle’s coverage, contact us today.
Drive with Confidence
Request your free car insurance quote now and get the coverage you deserve.


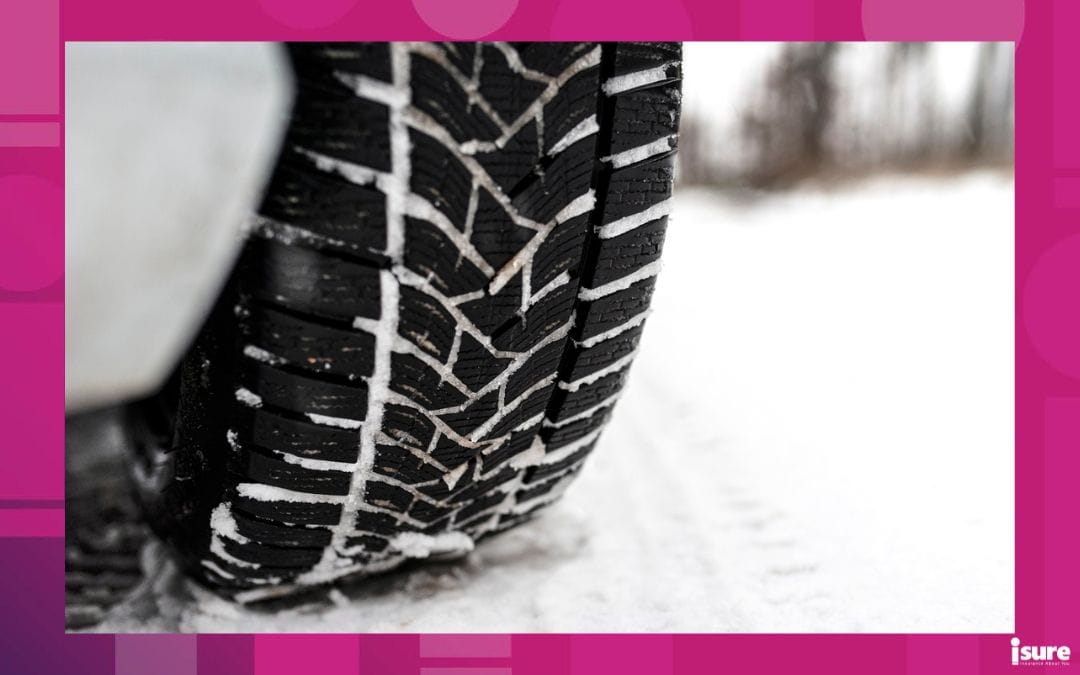
Find budget-friendly winter tires that offer both affordability and reliability. Read more
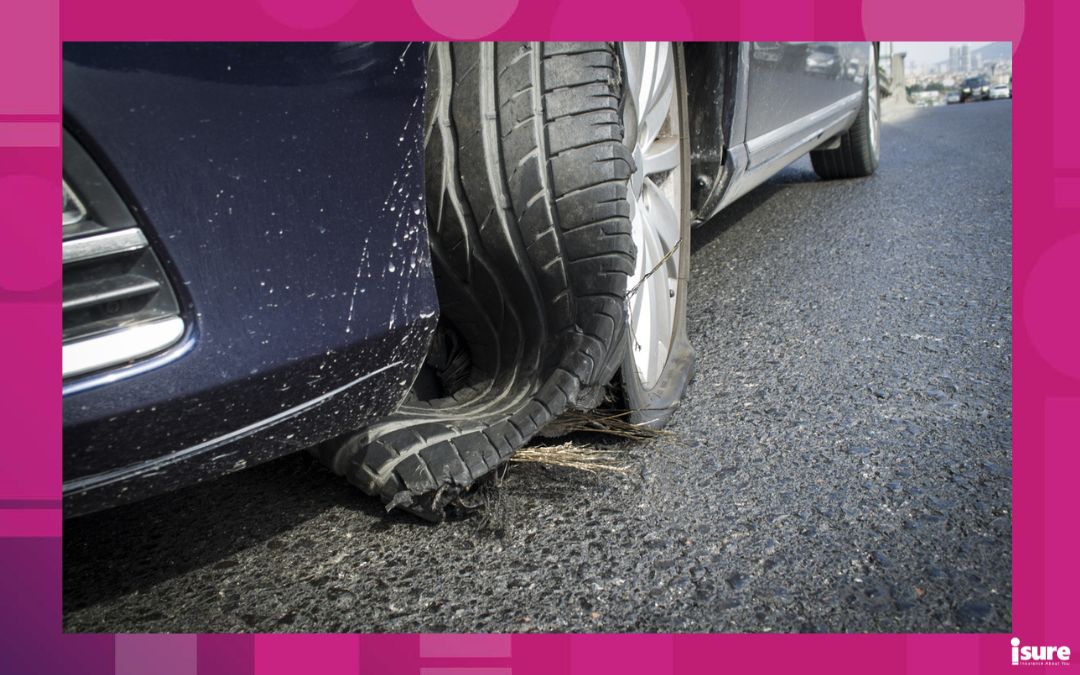
When a tire blowout occurs, it can only take a Read more

Whether you're stuck in rush hour traffic in the middle Read more