Discovering a leak in your basement can be a significant headache as a homeowner. Basements are a crucial part of any home, whether providing storage space or even extra living space. However, they can be notorious for harbouring moisture and springing leaks. This is where waterproofing your basement comes into play. The average cost to waterproof a basement is roughly $5-$10 per square foot, but you can save a lot of money by doing it yourself.
When a basement isn’t waterproofed, it can lead to excess moisture, which can cause rot, mould, and water damage. This can compromise your home’s structural integrity and cause discomfort. Luckily, isure has everything you need to know about waterproofing your basement.
Waterproofing Your Basement: When Should I?
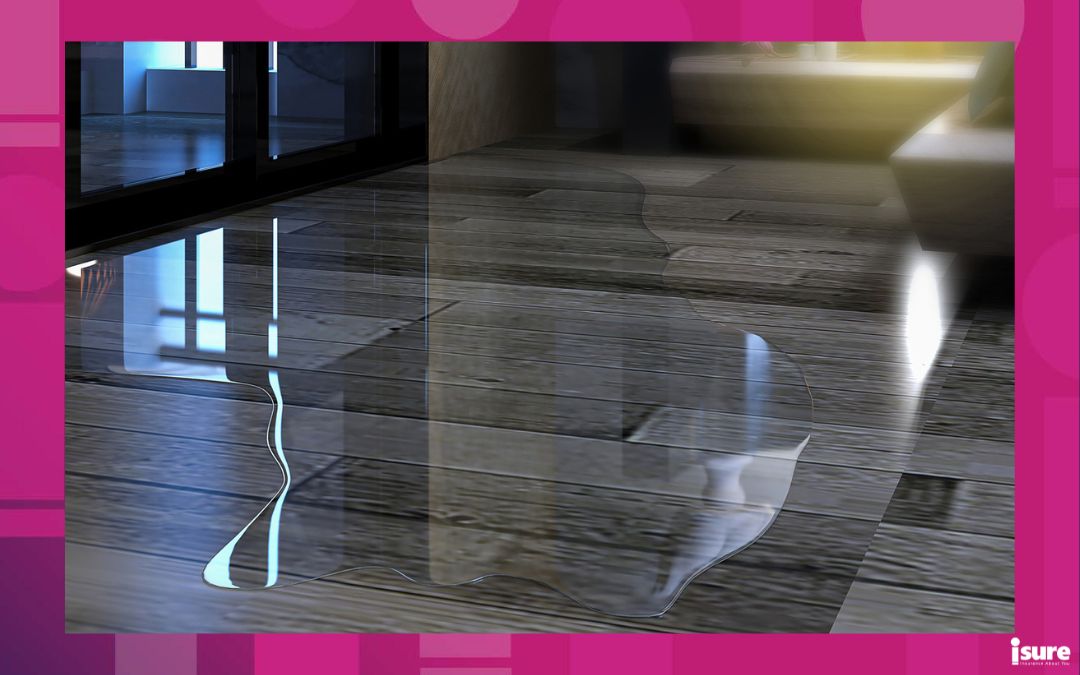
Knowing when to waterproof your basement is crucial to preventing major issues. Some early signs of basement water issues can be obvious. An example of this would be standing water on the floor. However, some signs are a bit more subtle. If you’re unsure as to whether or not your basement needs waterproofing, look out for the following signs:
- You see mould or mildew
- You smell musty odours when entering the basement
- A white, chalky substance, known as efflorescence, appears on basement walls or floors
- Your drywall or flooring is mouldy, feels wet, or has water stains
- Condensation develops on pipes, ducts, or windows in your basement
- Rust or puddles are spotted around your water heater
If any of these signs are spotted, it may be time to begin waterproofing your basement.
Waterproofing Your Basement: Prepping Beforehand
If you’ve discovered you need to waterproof your basement, there are a few steps you should take before doing so. This helps the process run smoothly and prevents you from worsening the situation.
1. Make Sure Your Basement Is Dry
Before you begin waterproofing your basement, it should be as dry as possible. Even if your moisture issue is minor, applying waterproofing products to a still-damp cellar will trap moisture and risk more structural damage. Standing water increases your risk of electrical shock when using power tools.
To start, pump out any standing water. From there, fans and dehumidifiers can dry the air in the basement as much as possible. Remove any porous materials that are damp or mouldy, such as carpet or drywall. Unlike hard surfaces, these materials generally cannot be disinfected or salvaged after water damage occurs.
2. Clean And Inspect Your Basement
Clean your basement as you normally would, removing any furniture or objects that could be damaged or get in your way. In some cases, you may need to remove old layers of paint so that any concrete sealers can adhere properly once applied.
When it comes to inspecting your basement, it is essential to pay attention to the following:
- Mould or mildew: If mould or mildew remains, clean your basement floors and walls with an antifungal cleaner or some diluted bleach. When performing this task, it is critical to wear appropriate protective gear, including a respirator, gloves, and safety glasses.
- Efflorescence: Efflorescence is a crystallized mineral residue that gets left behind when water evaporates. Generally, this mineral is easy to scrub or scrape away with a brush or a paint scraper. However, it’s usually a clear indicator of leaks or dampness in a basement. Stubborn efflorescence can sometimes require a muriatic acid scrub. Similar to above, this may require respiratory protection.
3. Identify The Source Of Moisture
Once your basement is tidied and dry, it’s time to locate the source of moisture or water. This can be obvious in many cases, such as damp streaks from wall cracks or puddles forming under leaky pipes. In other cases, it can be tricky to determine whether the problem is due to overly humid air or water seepage through unsealed concrete walls.
Luckily, there is a trick for figuring out the moisture source. This is done by taping a 1-square-foot piece of aluminum foil to the wall and leaving it there for about 24 hours. If condensation develops on the outside, the problem is humid air coming from another source within the basement. Water is seeping through the walls if it grows on the side facing the wall.
Waterproofing Your Basement: The Steps To Take
Now that you’ve cleaned your basement and identified the source of the water, it’s time to begin waterproofing! There are two types of basement waterproofing: interior and exterior. Waterproofing a basement from the outside generally involves excavation and regrading, which professionals should handle best. On the other hand, interior waterproofing can be done by using multiple products yourself. Let’s take a look at where to start.
1. Plug Holes Or Cracks
To begin with, you’ll want to plug any holes or cracks. Begin by cleaning the cracks thoroughly with a brush to remove dust or debris. Then select a sealant based on the crack’s size. Smaller holes can be filled with silicone caulking. Larger cracks or gaps in the floor should be sealed with hydraulic cement, which can expand and contract with the concrete as temperatures change. Silicate-based sealers can also be effective, though you must remove paint before applying them.
2. Reseal Doors, Windows, And Pipes
Exterior windows and doors are among the most common areas where leaks occur. Sealing around them with a silicone caulking or expanding foam is essential. Make sure you pay special attention to the window wells around egress windows, as runoff often collects there. On top of this, make sure you check corners and the places where any sliding materials will meet the frame for gaps.
3. Apply Some Waterproof Paint
Waterproof paint alone won’t seal any cracks, but it will provide extra protection over hydraulic cement or other sealants. Masonry paint and epoxy paint are both highly water-resistant options for waterproofing your basement.
Make sure you thoroughly clean and dry the wall, and apply it on a day with no forecasted rain. Generally, you’ll need two to three coats for the job to be done. If the paint you choose contains hazardous chemicals, remember to wear protective gear and follow all manufacturer instructions!
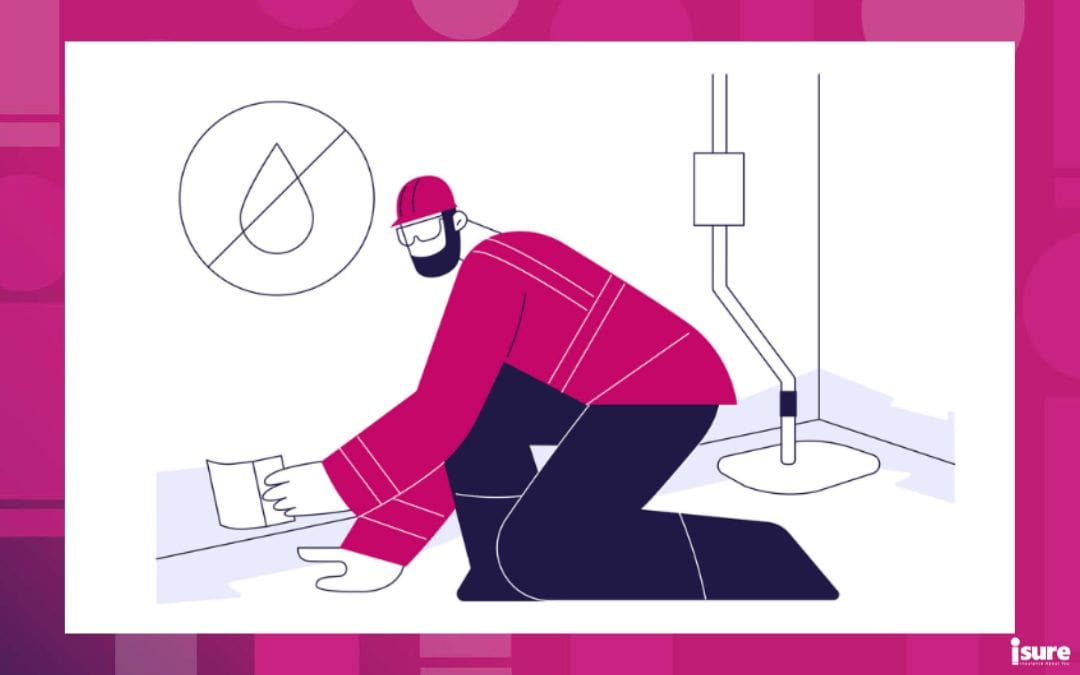
4. Install A Sump Pump
If your basement is prone to flooding, installing a sump pump is a great way to actively move water out and away from your home. There are two types of pumps: a pedestal pump, which has a motor above the waterline, and a submersible pump, which sits in the water. The best choice for you will depend on the severity of your water issues and the layout of your basement. Let’s take a look at what each type of pump provides:
- Pedestal pumps are less expensive but easier to install. However, they are also less powerful.
- Submersible pumps are more expensive and complex to install. In many cases, you may need to call a professional. However, submersible pumps are much more effective.
Regardless of the type of pump you choose, it is important to regularly test and maintain it to keep it in top shape.
5. Check For Exterior Drainage
If water collects around the outside of your home’s foundation, it can often seep into the basement. When waterproofing your basement, always double-check your home’s gutters and downspouts. They should always direct rainwater away from the foundation, so they must be in good shape and free of clogs to work properly. You should periodically check your gutters to ensure they work correctly and have them cleaned twice a year.
It is also essential to ensure the ground slopes away from your home to direct water away from your home. If it doesn’t, you may need to add soil to even the ground. Pay attention to low spots where water may pool.
6. Is The Problem Serious?
Waterproofing your basement can be a simple task in many cases, as minor cracks and gaps can easily be patched. However, if you notice larger cracks or other signs of sinking, you may face serious foundation problems. In areas with a high groundwater-to-soil ratio, hydrostatic pressure can cause basement walls to bow inward or crack. If cracks are horizontal, it may indicate a more severe problem than vertical cracks. However, vertical cracks should be taken seriously if they are wider than 1/8 of an inch.
In some cases, foundation problems can appear throughout your home. Look for uneven floors or cracks around door frames on the main or upper levels. If you notice issues such as these, it’s important to get a qualified foundation expert to assess the situation and recommend appropriate repairs.
Waterproofing Your Basement: When to Hire a Professional
Though the above steps are all DIY-friendly, there are times when you should hire a professional. While these options are often effective at addressing leaks and moisture, they won’t solve the underlying cause of the problem and, more importantly, provide only a temporary solution.
You should hire a professional to address any large, sudden, or persistent problems or repairs. Some examples of these include:
- Structural damage in your home
- Severe water intrusion
- Extensive mould growth
- Chronic leaks
Though hiring a professional can sometimes be expensive, protecting your home is necessary!
Nobody likes a mouldy, damp basement, so waterproofing your basement is always a good idea, even if you don’t see any underlying issues yet! To protect your home, you’ll need insurance. If you find your home is susceptible to flooding, you can check out some information on flood insurance. This way, you will be prepared for the worst. Please don’t hesitate to contact us at isure or request a quote today!
Safeguard Your Home
Get a free home insurance quote today and protect what matters most.


Water damage is now the most common and costly home Read more

Flood mapping is an essential tool for identifying areas at Read more